Step-by-Step Guide to Repairing Your Interlocking Pavers
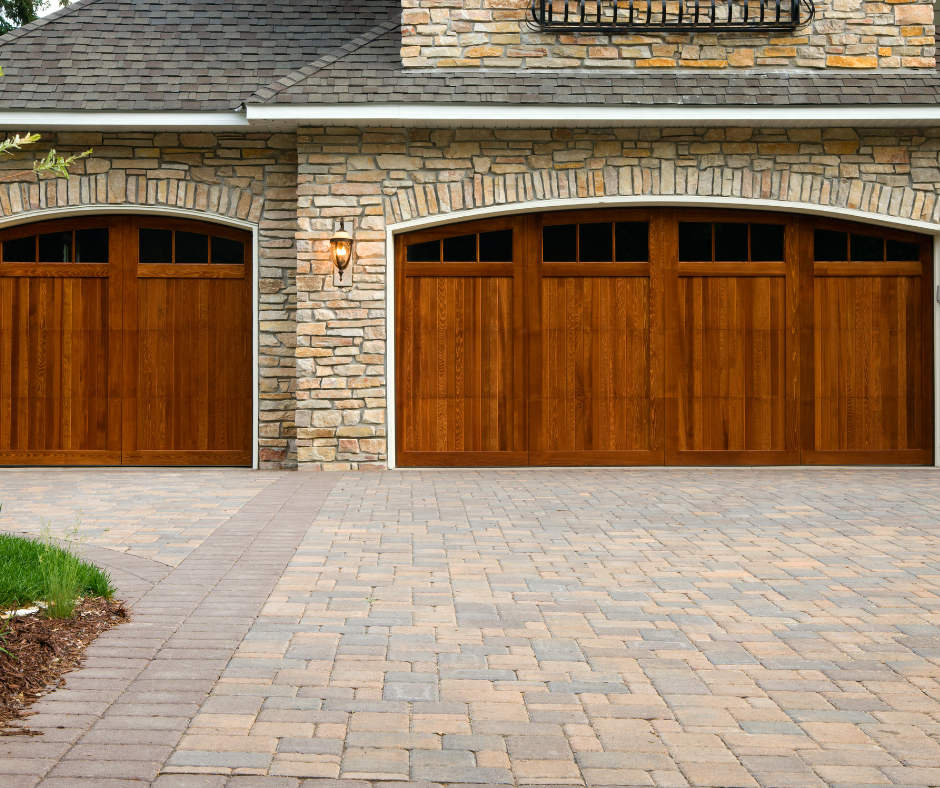
Interlocking pavers are a popular and durable choice for driveways, patios, and walkways. However, over time, they may require some maintenance and repair. Here’s a step-by-step guide to help you effectively repair interlocking pavers:
Step 1: Assess the Damage
- Identify Problem Areas: Inspect the pavers to determine the extent of the repair needed. Look for signs of wear such as cracks, chips, shifting, sinking, or loose pavers.
Step 2: Gather Your Materials and Tools
- Materials: Replacement pavers (matching your existing ones), joint sand, and possible base materials like sand or gravel.
- Tools: Flathead screwdriver, mallet, chisel, broom, and possibly a compacting tool.
Step 3: Remove the Damaged Pavers
- Loosen Pavers: Use the screwdriver and mallet to gently loosen and lift the damaged pavers. Be careful not to damage adjacent pavers.
- Clear the Area: Once removed, clear out any debris or broken pieces from the space.
Step 4: Prepare the Base
- Assess and Adjust: Check the base where the pavers were removed. If it has settled or eroded, you may need to add and compact new base material (like sand) to level it out.
- Compact the Base: Ensure the base is firm and level. A hand tamper can be used for small areas.
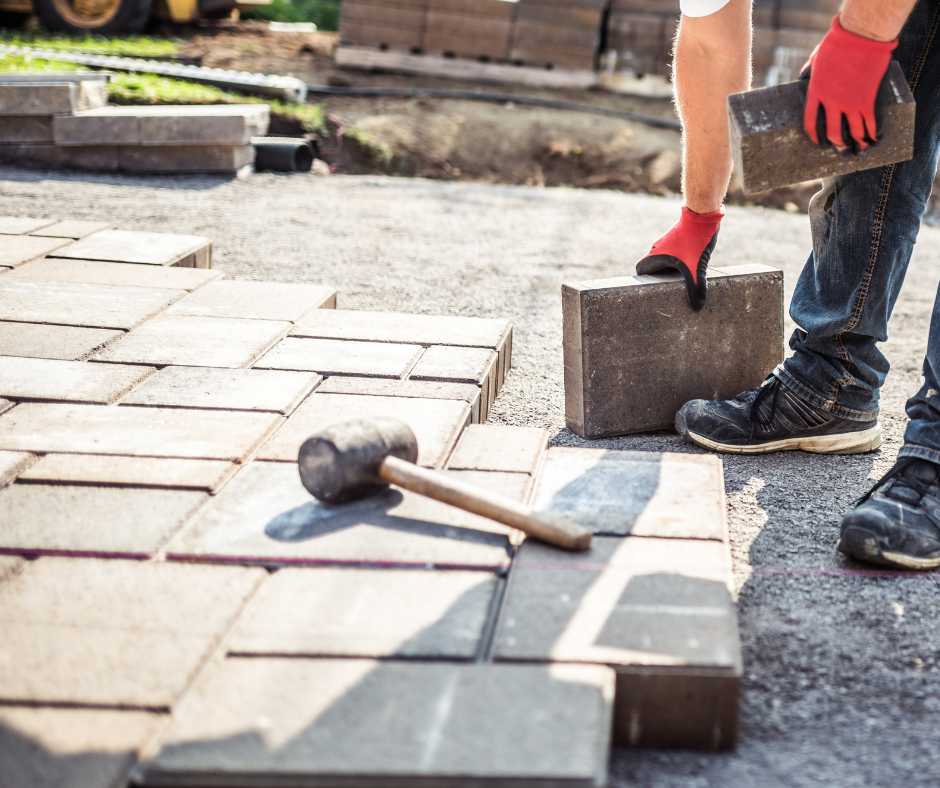
Step 5: Install New Pavers
- Place New Pavers: Fit the new pavers into the space, making sure they are level with the surrounding pavers. Tap them gently into place with a mallet.
- Precision is Key: Ensure that the gaps between pavers are consistent with the rest of your paving for a uniform look.
Step 6: Fill the Joints
- Apply Joint Sand: Spread joint sand over the new pavers and use a broom to sweep it into the gaps. This helps lock the pavers in place.
- Compact Again: If necessary, gently compact the area to settle the interlocking pavers and sand.
Step 7: Clean and Finish
- Clean the Surface: Sweep off excess sand and clean the area to give your pavers a refreshed look.
- Wet the Area: Lightly wetting the area can help settle the sand in the joints.
Step 8: Monitor the Repaired Area
- Regular Checks: Keep an eye on the repaired area for a few days to ensure that everything is settled and there is no further movement or sinking.
Conclusion: Maintain for Longevity
Regular maintenance and timely repairs can extend the life of your interlocking pavers and keep them looking beautiful. By following these steps, you can effectively repair any damaged areas and enjoy a rejuvenated outdoor space.
Quick Service Request
Schedule a Free Consultation!