Step-by-Step Guide to Repairing Interlocking Driveway Pavers
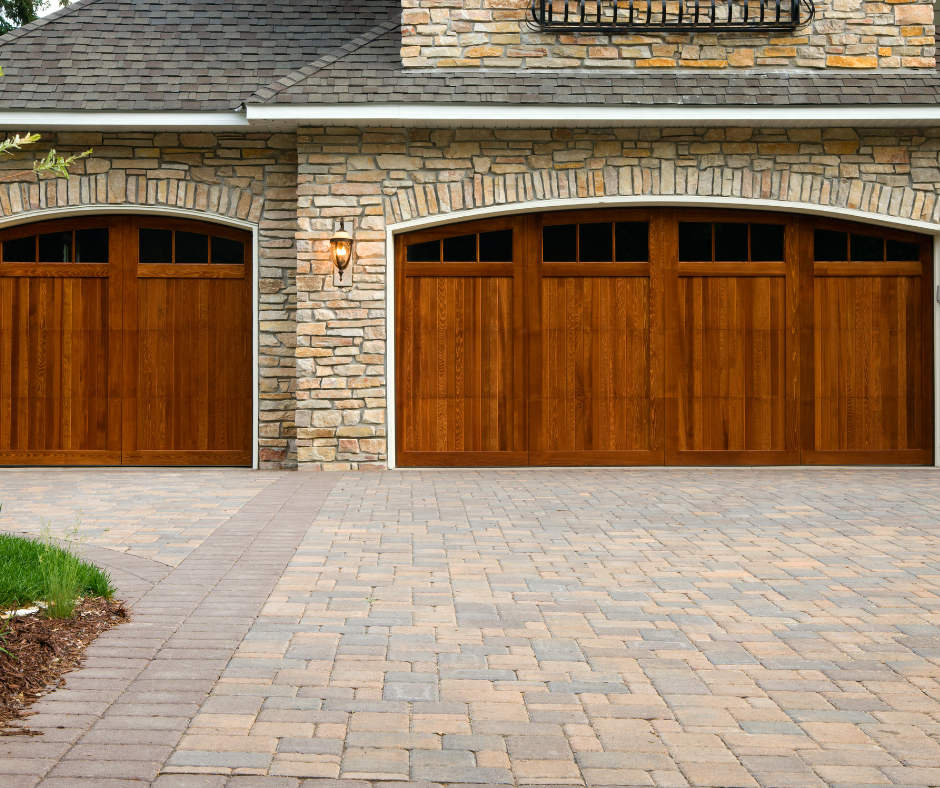
Maintaining the integrity and appearance of your interlocking driveway pavers is essential for both aesthetics and functionality. Over time, they may require repairs due to wear, shifting, or damage. Here’s how you can repair your interlocking driveway pavers:
Step 1: Inspect and Identify Damage
- Locate Damaged Pavers: Carefully inspect your driveway for pavers that are cracked, chipped, uneven, or have shifted out of place.
Step 2: Gather Necessary Tools and Materials
- Tools Needed: Flathead screwdriver, rubber mallet, chisel, broom, and hand tamper or plate compactor for larger areas.
- Materials: Replacement pavers, joint sand, and additional base material (if needed).
Step 3: Remove Damaged Pavers
- Loosen the Pavers: Use the screwdriver and mallet to gently pry out the damaged pavers. Work carefully to avoid disturbing the surrounding pavers.
- Clean the Area: Remove any debris or old base materials from the gap left by the removed paver.
Step 4: Prepare the Base
- Inspect the Base: Ensure the underlying base material is level and undisturbed. If the base has eroded or compacted unevenly, add and level new base material.
- Compact the Base: Use a hand tamper or plate compactor for a firm, even base. This is critical for driveways due to vehicle weight.
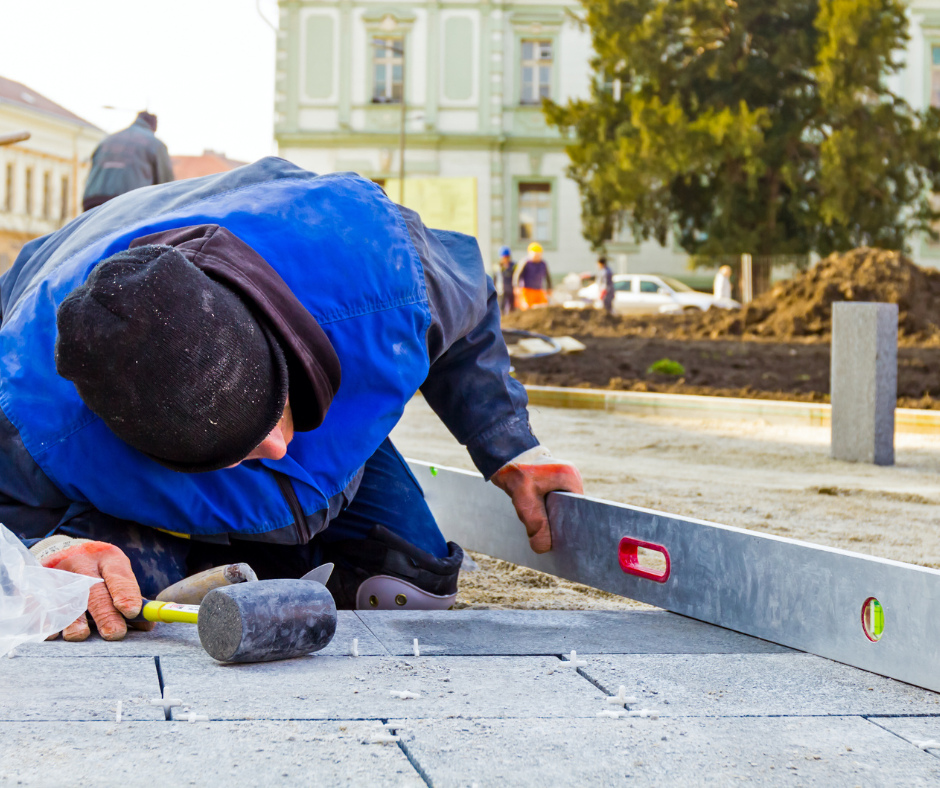
Step 5: Install New Pavers
- Fit the Pavers: Place the new pavers into the empty spaces, ensuring they are flush with the surface level of the surrounding pavers.
- Tap into Place: Use the rubber mallet to gently tap the pavers into the base, ensuring they are securely positioned.
Step 6: Refill the Joints
- Spread Joint Sand: Cover the area with joint sand, sweeping it into the gaps between the pavers. The sand helps lock the pavers together.
- Compact the Area: If you have replaced several pavers or a large area, run a plate compactor over the area to settle the pavers and sand.
Step 7: Final Cleanup and Settling
- Clean the Driveway: Sweep away excess sand and debris. Rinse lightly if necessary, but avoid dislodging the sand from the joints.
- Wet the Sand: Lightly wetting the surface can help the joint sand settle properly.
Step 8: Regular Inspection and Maintenance
- Periodic Checks: Regularly inspect your driveway for signs of new damage or shifting, especially after extreme weather conditions.
Conclusion: Ensuring Longevity
Proper maintenance and timely repairs are key to prolonging the life and appearance of your interlocking driveway pavers. By following these steps, you can ensure that your driveway remains functional, safe, and visually appealing for years to come.
Quick Service Request
Schedule a Free Consultation!