The Art of Restoring Interlocking Pavers and Paving Stones
Interlocking pavers can often be lifted and reused when a small area settles. A lasting repair starts by identifying why the surface moved: drainage, base failure, roots or damaged edge restraints. This guide explains what to assess before repairing walkways, patios and steps in the GTA.
Part 1: Understanding the Basics of Interlocking Paver Repairs
Why Paver Repair is Essential:
An uneven surface can create a trip hazard or direct water toward the house. Repairing the underlying problem early can limit the affected area and preserve reusable pavers.
Common Issues with Interlocking Pavers:
Look for low spots, rocking units, widening joints, broken edges and movement along the perimeter. Note whether the problem returns after rain or winter; repeated movement calls for a closer look below the surface.
Part 2: Tools and Materials for Paver Repair
Essential Tools and Supplies:
For a small ground-level repair, typical equipment includes gloves, eye protection, a paver extractor, rubber mallet, straightedge and suitable lifting aids. Match replacement units, bedding and joint materials to the existing paving system. Heavy steps and wall units need professional handling.
Part 3: Step-by-Step Guide to Repairing Interlocking Step Pavers
Step 1: Diagnosing the Damage
Photograph the area and compare the affected units with stable ones. On steps, check for loose caps, movement and inconsistent riser heights. Keep people off unstable steps and have their support assessed before attempting cosmetic repairs.
Step 2: Removing Damaged Pavers
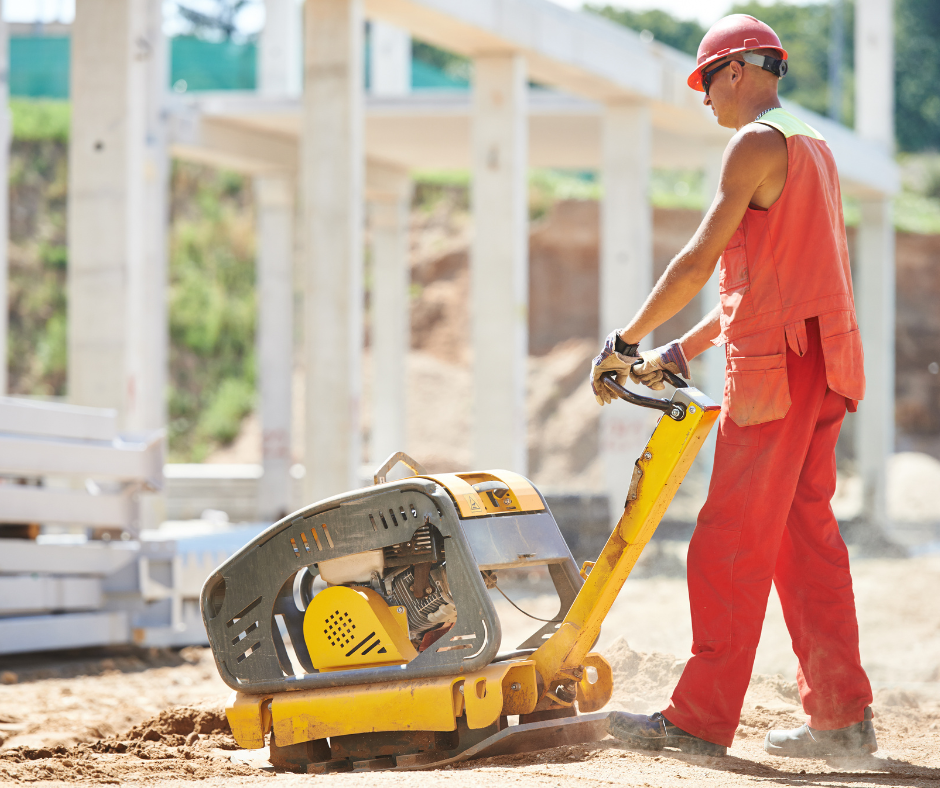
Record the laying pattern before lifting units. A paver extractor can reduce edge damage; avoid prying against fragile neighbouring stones. Do not remove blocks supporting a stair or retaining wall as part of a routine surface repair.
Step 3: Preparing the Base
Remove failed or contaminated material and investigate the cause of settlement. Restore the base and bedding to the paving system’s specifications, with drainage directed to an appropriate outlet. Adding extra bedding over a weak base can leave the original problem unresolved.
Step 4: Replacing and Aligning New Pavers
Reuse sound units where possible and match replacements by dimensions, thickness and finish. Check the surface against a straightedge and adjacent grades. For steps, consistent geometry and secure support matter more than simply matching the visible pattern.
Step 5: Finishing Touches
Use joint material compatible with the pavers and installation. Follow its cleaning, compaction and activation instructions. Sealing is optional for some products and should only follow a compatibility check; it cannot secure a loose step.
Part 4: Repairing Interlocking Retaining Walls
Assessing Wall Damage:
Bulging, leaning, displaced blocks or washed-out soil may indicate a problem behind or beneath a retaining wall. Record the movement and have drainage, loading and support assessed before deciding how much work is necessary.
Dismantling and Rebuilding:
A retaining wall holds back soil and may support nearby paving, structures or slopes. Do not dismantle a leaning wall without an appropriate repair plan. A qualified contractor or engineer should establish the safe sequence, drainage work and any reinforcement needed.
Part 5: Restoring Interlocking Walkways
Evaluating Walkway Conditions:
Walk the route in dry conditions and observe drainage after rainfall. Mark rocking pavers, low areas and transitions at doors, steps and driveways. Check whether the edge restraint has moved before choosing a repair boundary.
Step-by-Step Repair Process:
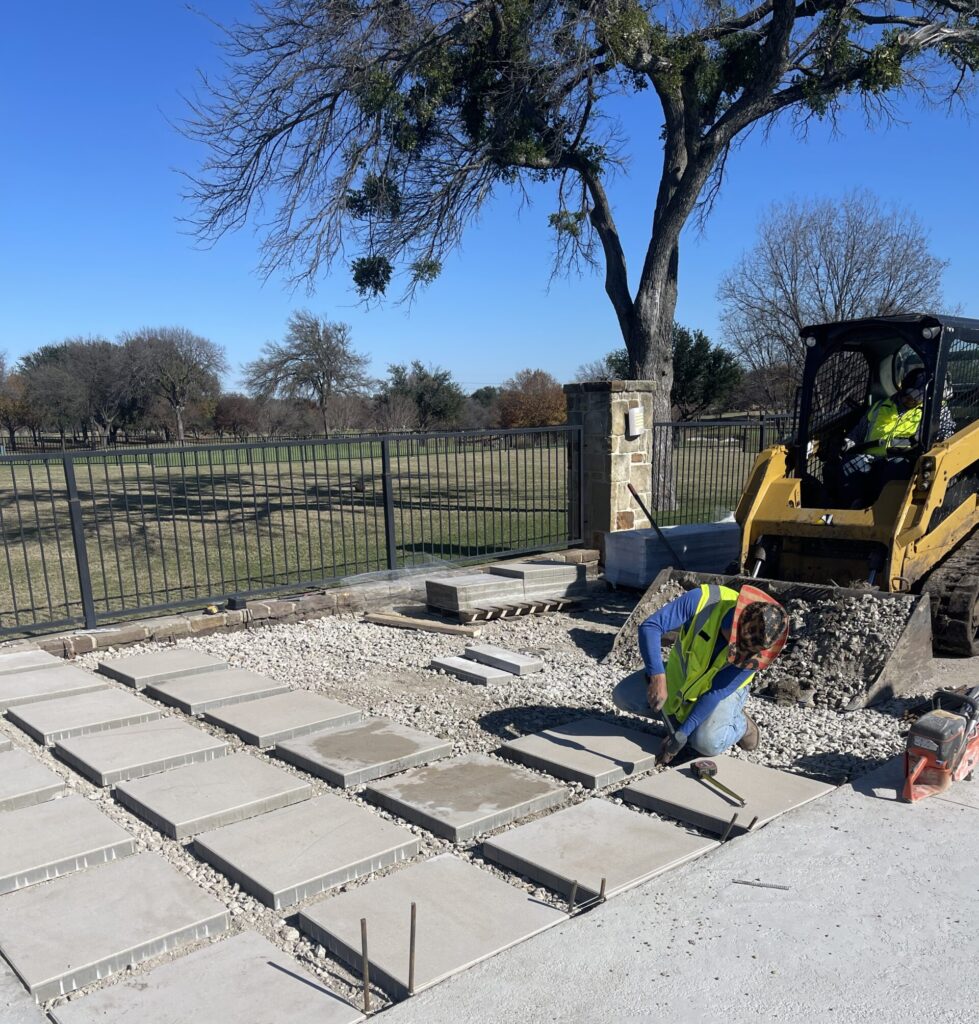
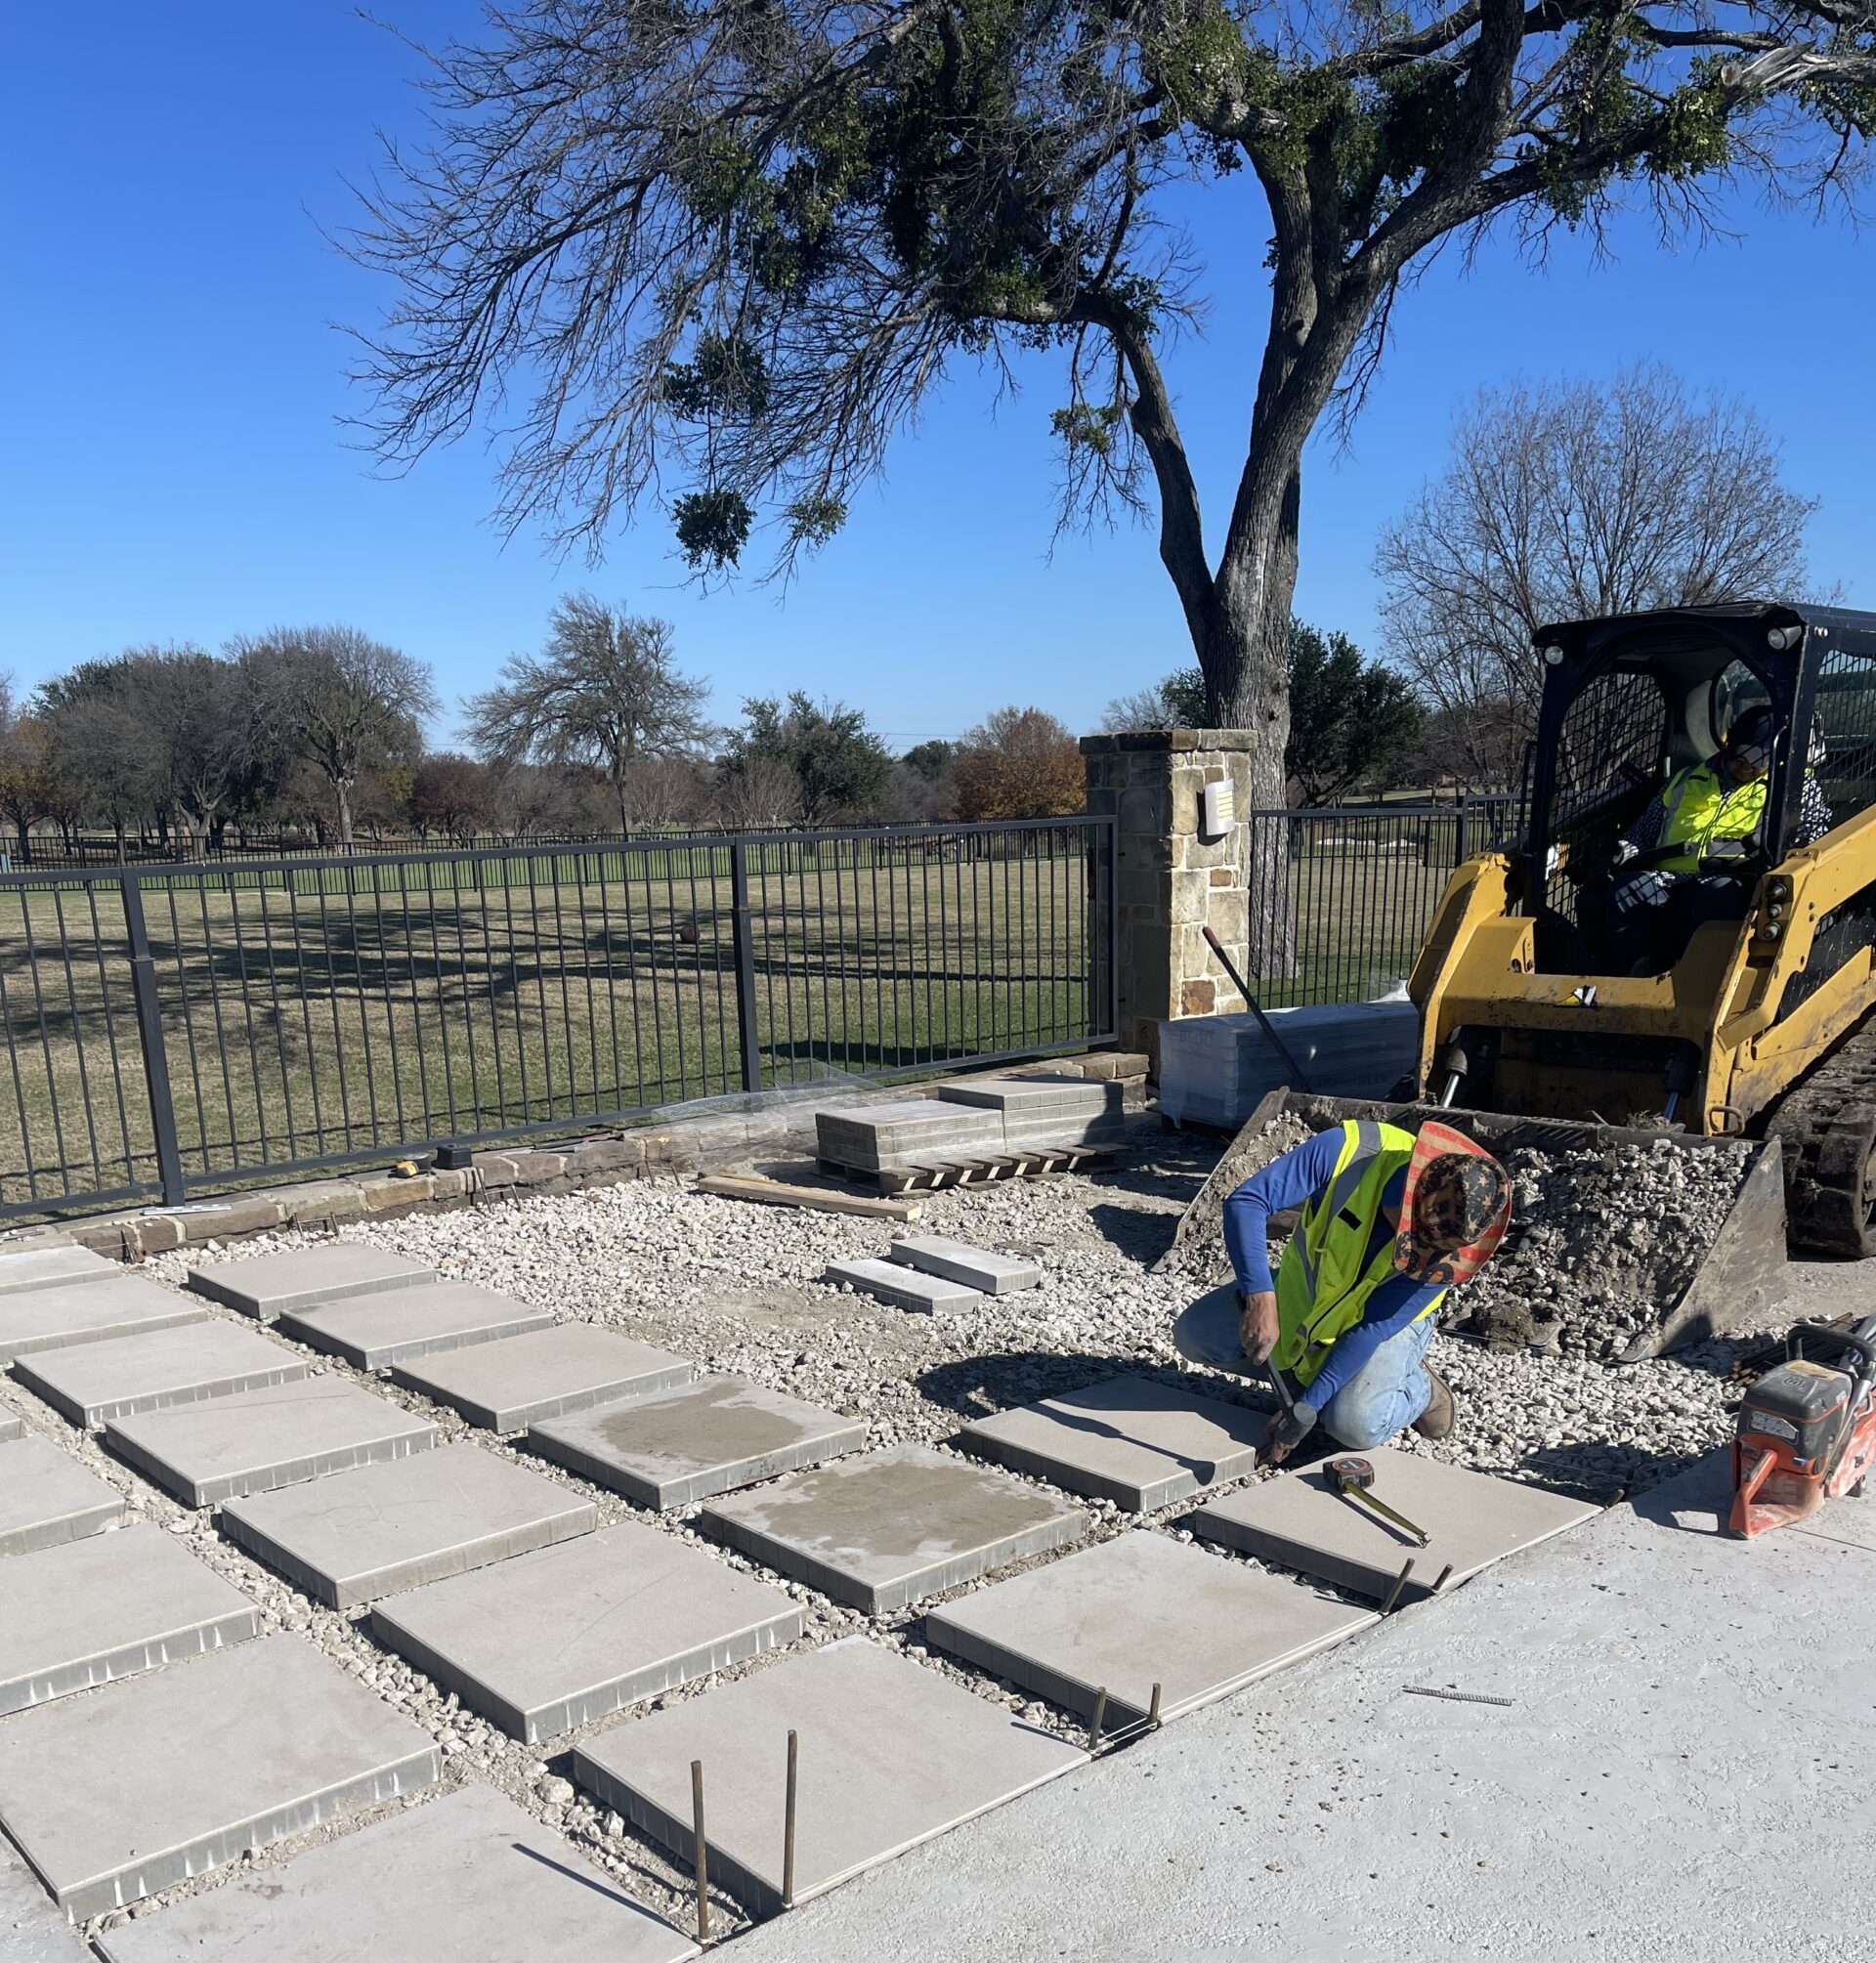
For a localized ground-level defect, document the pattern, lift the affected units, correct the supporting layers, then relay and restore the joints. Extend the repair to stable edges rather than stopping inside an area that is still moving.
Base Layer Correction Techniques:
Base repairs should address weak material, inadequate compaction or poor water management. The required depth depends on the site and loads. For manufacturer guidance, see Unilock’s base-preparation reference.
Finishing and Sealing for Durability:
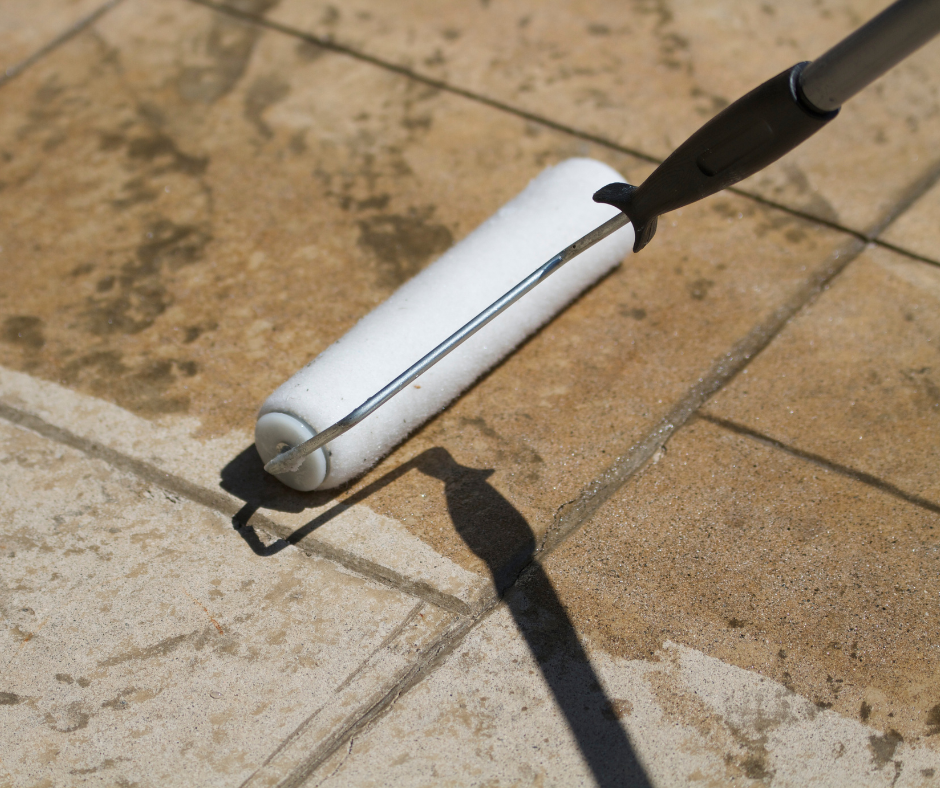
Before sealing, confirm that the surface is clean, dry and compatible with the selected product. Follow the required curing interval for any new joint material. Test a small area first because sealers can change colour and surface appearance.
Part 6: Special Considerations for Various Paver Materials
Concrete Paver Repairs:
Replace fractured concrete pavers rather than hiding cracks with a surface coating. Check whether damage came from impact, unsuitable loading or movement underneath. Spare matching units can make a small repair less noticeable.
Natural Stone Paver Care:
Match the stone’s thickness, finish and intended exposure. Avoid acidic cleaners on acid-sensitive stone such as limestone. Ask the supplier for cleaning and sealing instructions and trial any product in an inconspicuous area.
Composite Paver Maintenance:
Composite paving systems have their own support, spacing and cleaning requirements. Identify the manufacturer and product before repairing them; methods intended for concrete pavers may not suit composite units.
Part 7: Advanced Repair Techniques
Handling Complex Repairs:
Recurring settlement, extensive drainage problems, vehicle rutting or movement beside a foundation usually need more than lifting a few pavers. Document when the issue appears and have the complete pavement system assessed.
Innovative Repair Methods:
Select repair products for compatibility with the existing installation. A different jointing compound or edge restraint is useful only if it suits the pavers, joint dimensions, base and exposure. Ask for the reason behind each proposed change.
Part 8: Preventive Maintenance and Care
Routine Maintenance Tips:
Sweep debris, inspect joints and edge restraints, and address drainage obstructions promptly. Follow the manufacturer’s cleaning instructions; aggressive pressure washing can remove joint material or damage finishes.
Seasonal Care in the GTA:
Inspect the surface after winter and check drainage during spring rain. Use snow-removal tools and deicers approved for the installed materials. Arrange repairs when the supporting ground can be properly evaluated and worked.
Part 9: When to Call the Professionals
Assessing the Need for Professional Help:
Seek professional assessment for unstable steps, leaning walls, widespread movement or drainage toward the house. A small isolated walkway repair may be manageable, but the cause of failure should be understood first.
The Benefits of Professional Paver Repair Services:
A repair assessment should define the affected area, what will be reused, what supporting layers need correction and what the quotation excludes. Ask about material matching, drainage and the written terms applying specifically to repair work.
Conclusion: Empowering Your DIY Journey and When to Seek Help
Start with the cause of the damage, not just its appearance. A sound repair preserves usable materials, restores support and drainage, and leaves safe transitions. For a project assessment in Oakville, Burlington, Milton or the GTA, contact Milton Stone with photographs and a description of the problem.
Quick Service Request
Request a Quote Now!